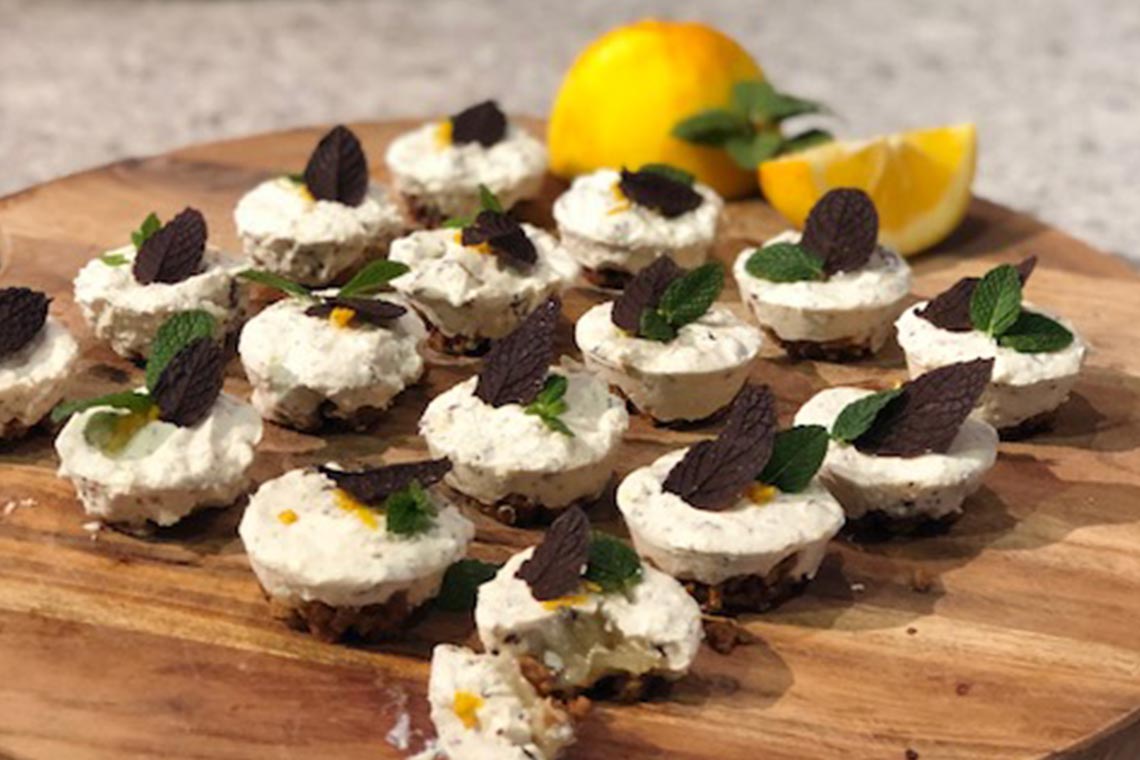
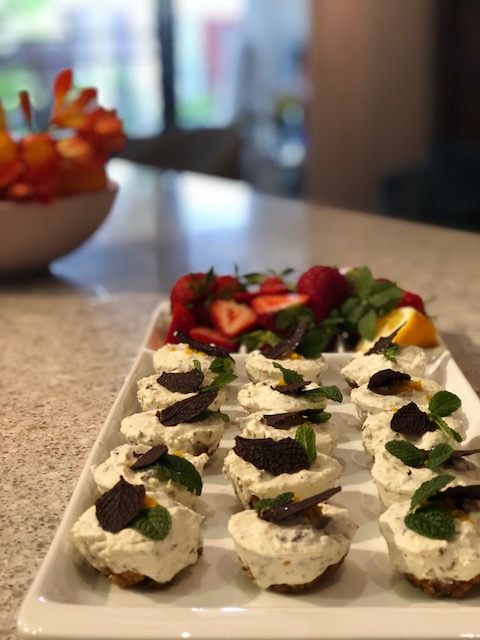
 Muesli Breakfast Bites
These are nut, gluten and dairy free but if you don’t have any sensitivities then feel free to make the full nut option! (further below)
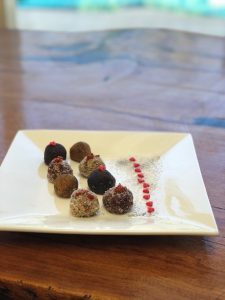
For these ones, I wanted to make them look more like truffles than a muesli bite, I was also looking for something speedy but healthy. This is a good recipe to do with the kids so maybe they might be more inclined to give them a try!
Here’s what I used:
1 x box of gluten free, nut free, dairy free muesli (it had some dried fruit in it) try to make sure it’s one of the healthier options with lower sugar or chemicals. Whiz this whole box up in the food processor or blender so you get crumbs or there abouts. This just saves time getting a bunch of ingredients together.
2 x tablespoons of coconut oil – more for consistency if you need
Honey – to taste
Cinnamon – to taste
Vanilla – to taste (I wouldn’t use more than a teaspoon of extract or 1 x vanilla bean)
Add in any other dried fruits or some grated fruit as you think you need.
Roll in sprinkles, glitter, hearts, coconut, raw cacao or anything you’d like. I used sparkle dust on mine, cocoa on the others and coconut on the other 2. Whatever appeals to the kids the most really so they eat them!
If you want to do another nut inclusive version, use 1 x cup of cashews, 1 x cup of almonds or almond meal, freshly squeezed lemon juice (1 x lemon), coconut (1/4 cup), coconut oil 2 x tablespoons, some craisens, or chopped dried mango, roll in desiccated coconut.
Enjoy 🙂
Angie Hazell, Personal Trainer and Certified Nutrition Coach | Personal Training | Group Fitness | Private Weightloss Challenges | Migraine Balance Coaching | Seniors Fitness
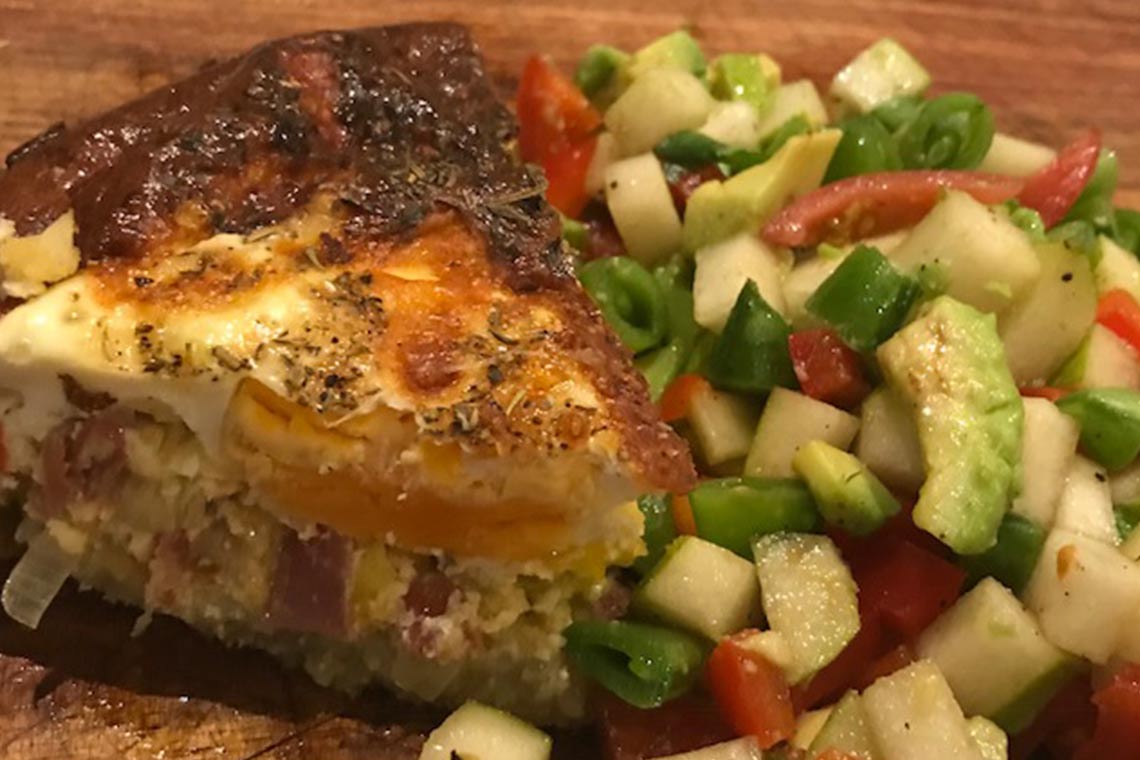
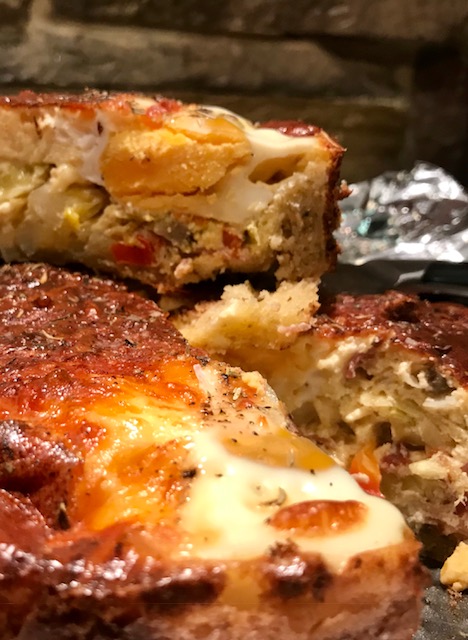
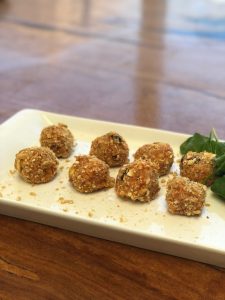 Veggie Squishie Bites